Friday, December 18, 2015

'Twas the Night Before Star Wars

'TWAS THE NIGHT BEFORE STAR WARS
'Twas the night before Star Wars (for my family) 
And all through the house
Not a creature was stirring, not even my spouse.
The props were laid out on the table with care
In hopes theater workers won’t care what we wear.

The padawan was nestled all snug in his bed,
While visions of light sabers flashed in his head.
And I in my blue jeans, sweatshirt, and cap
Had just settled down to check Fandango’s app.

When out on the lawn there arose such a clatter,
I sprang from my chair to see what was the matter.
Away to the kitchen I flew like a flash,
Grabbed the Glad Bag and sneakily took out the trash.

The moon on the grass after new-fallen rain
Glistened like mid-day all down the lane.
When, what to my wondering eyes should appear,
But the Millenium Falcon—I had to cheer!

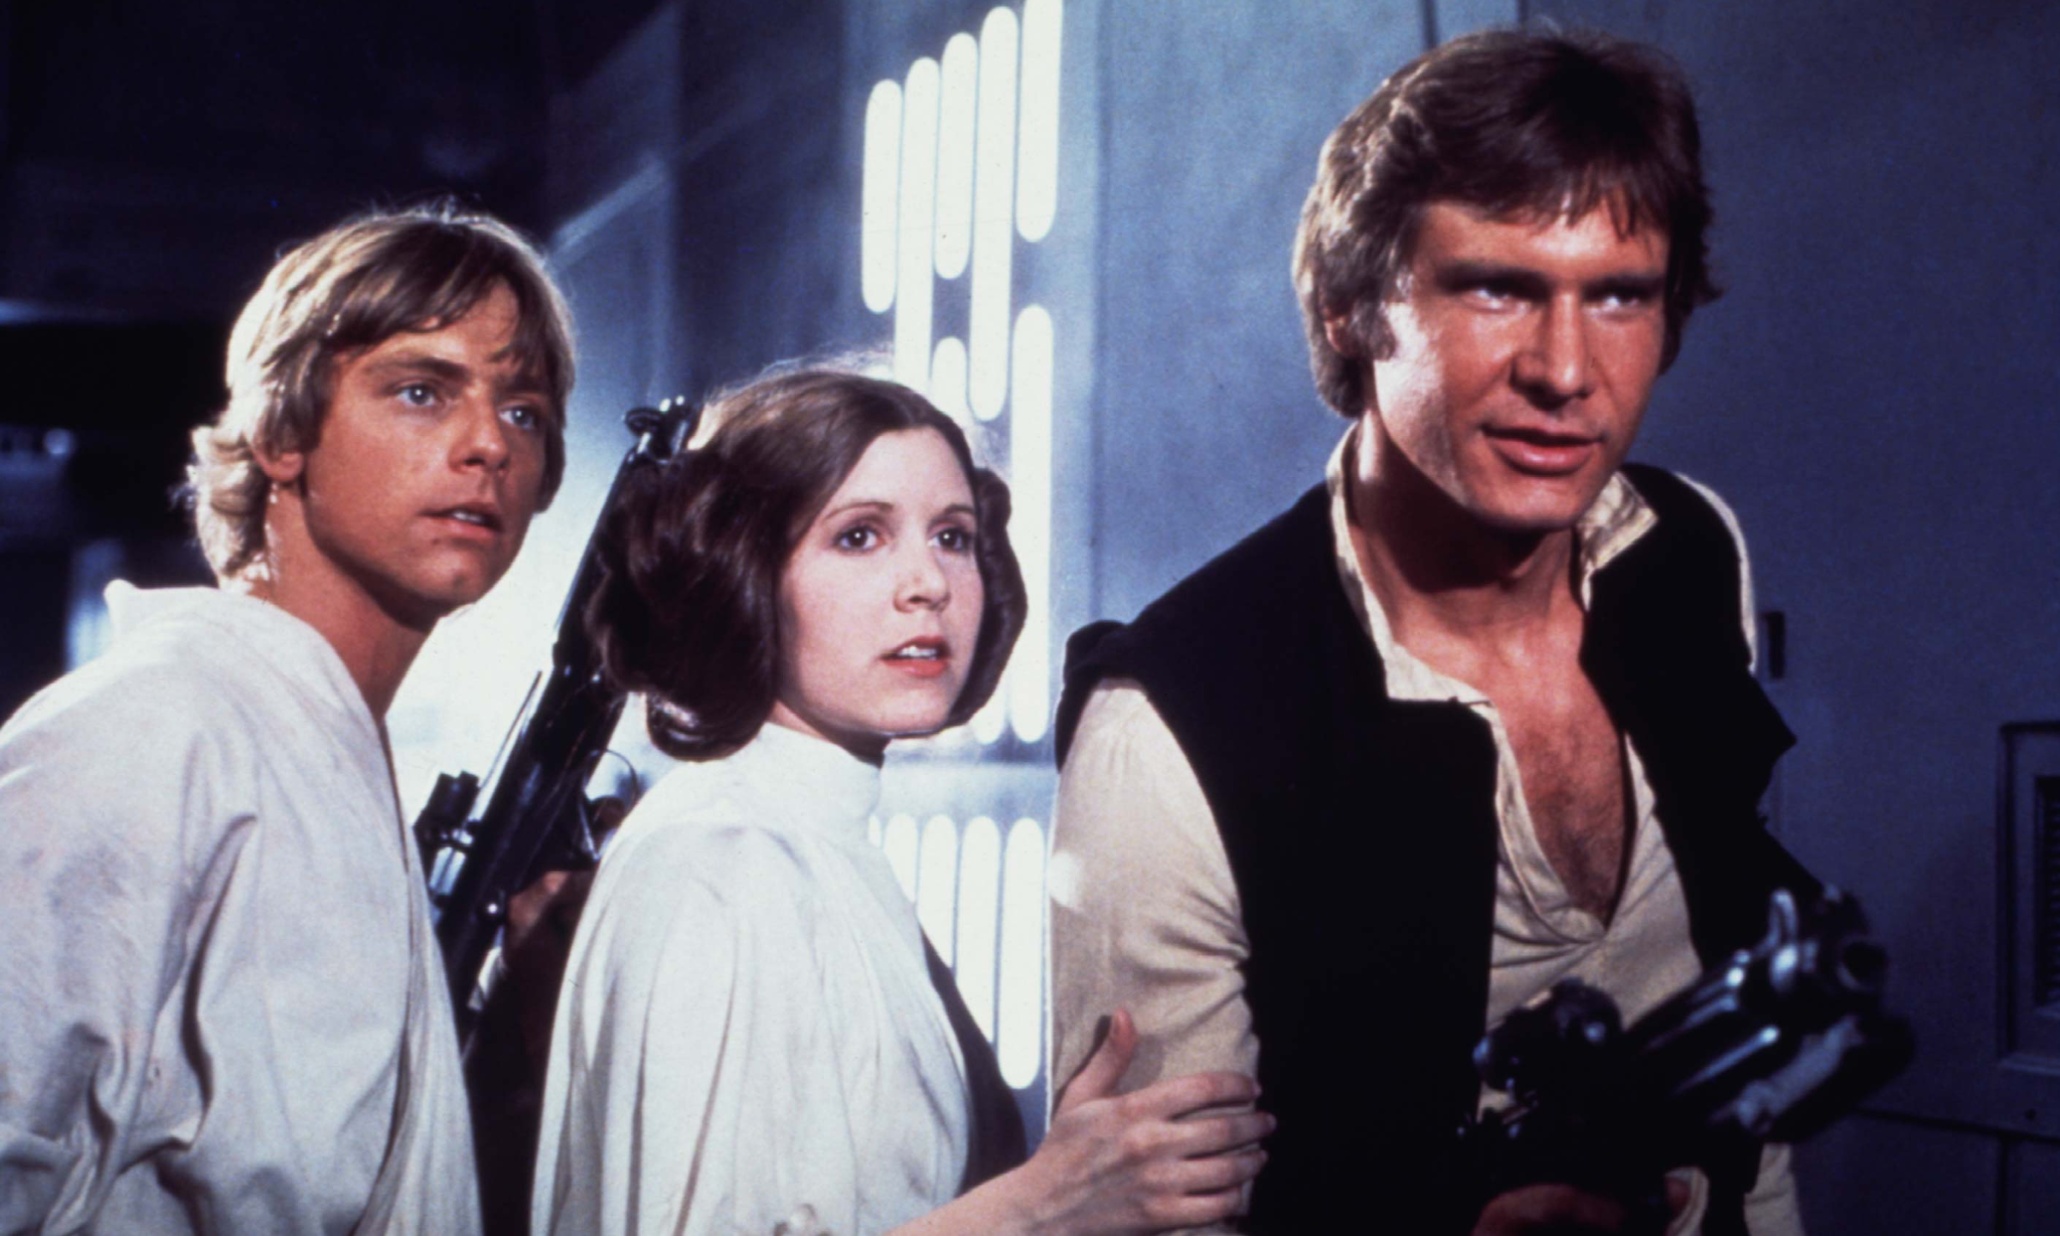
With a slightly old pilot, and Wookie in tow,
I knew right away it was Han Solo.
More rapid than X-Wings his companions came,
And he whistled, and shouted, and called them by name:

"Now, Luke! Now, Leia ! Now, C3PO-ah!
Come, Chewie! Come, Lando! Come, R2DayTow-ah!
Move away from the porch! And away from the wall!
Now hide away! Hide away! Hide away all!"

So, into the driveway the companions they ran,
With blasters and sabers, they hid in my van.
The droids were much slower with nowhere to go.
They pretended to be trash cans, so no one would know.

And then, in a twinkling, I heard someone say,
"What happened? Where are we? What day is today?"
I walked back inside, began turning around,
And through the window burst forth a Sith lord with a bound.

He was dressed all in leather, from his head to his foot,
And his face had been painted the colors he put.
A red light saber he lit to impress,
And he looked like a demon, just from his dress.

His eyes--they glowed yellow! His horns they were ugly!
His cheeks were striped boldly; he smiled so smugly!
I then froze in fear—so unsure what to do.
He laughed, and he paced with his saber blades two.

When all of a sudden behind me I hoyed (that’s Boston for “heard”)
The princess, the jedi, the pilot, the droid.
They came to my rescue and fought the Sith lord,
They battled for hours; I never was bored.

They fought in the kitchen; one jumped on a shelf. 
And I laughed when I saw it, in spite of myself.
Luke Skywalker in MY kitchen—too good to be true!
Han Solo and Leia and R2D2!

They killed the Sith lord, and then stopped to rest.
Then Yoda appeared saying, “Passed you did the test.”
With a sigh of relief, the Rebels rose to take leave.
They protected my family, I fully believe.

They boarded the Falcon, having done what they came for,
And away they all flew in the midst of a downpour.
But I heard them exclaim, ‘ere they flew out of sight,
"May the force be with y’all, and to y’all a good-night!"

An adaptation of the "'Twas the Night before Christmas" poem - by Laura Zielke


© 2015 Laura Zielke. All rights reserved. 

Monday, May 11, 2015

Minecraft Cake for Busy Parents

Ok, I realize this is NOT Pinterest worthy; however, this for those of us who don't do fondant, don't have time to bake a cake big enough for the party, and whose children LOVE Minecraft!!!

You will need to purchase:
  • 1 - cake from Costco
  • 1 - case of mini water bottles
  • 1 - bag of shredded coconut
  • 1 - tube of green food coloring (you might already have this on hand)
  • 1 - can of cake icing for writing (I used Betty Crocker White Cake Icing)
  • A variety of Minecraft figurines which your child will keep as part of his/her birthday present (I purchased the Minecraft Animal 6-pack and also used a Steve backpack clip which we already owned. There are LOTS of choices out there.)
  • Don't forget the ice cream! I purchased a pack of little ice cream cups from Wal-Mart. 

Simply follow these steps:


Step 1: Order a cake from Costco at least two days ahead of time, and request that they frost it in chocolate with NO DECORATIONS and TRIM ONLY ALONG THE BOTTOM (or no trim at all). When you pick it up, it will look like this:


Step 2: Pulse a bunch of Oreos in a food processor until you have lots and lots of crumbs (remove the cream filling first, if you don't want white specks in your 'dirt'). 

Step 3: Scrunch up a paper towel and slightly dampen it. Press the damp part of the paper towel into the crumbs to gather them for placement on the side of the cake. (You will have more crumbs than this photo shows...I must have taken this after touching the side of the cake.)


Step 4: Gently press the crumbs into the side of the cake, and repeat these steps (3 & 4) until you've gone all the way around the cake. It will look something like this:


Keep going, and it will eventually look like this:


Remember, we're not going for 100% coverage here.
We're going for texture and impression.
It actually looks pretty cool having a variety of chunk sizes. 

Step 5: In a large baggie (or bowl with lid), combine shredded coconut with a few drops of green food coloring. Shake until the coconut is coated. If it's too light, add more food coloring and shake. 

Step 6: Once you have the desired color of "grass," you will carefully distribute the coconut onto the cake where you want grass. I decided to put my grass all on one side, because I wanted to write "Happy Birthday!" on the other side. (NOTE: If you prefer not to have green fingers for the rest of the day, I highly recommend wearing thin gloves for this part or figuring out a creative way NOT to touch the coconut. Maybe it would be better to let the coconut dry overnight?! But who has time for that?)


Step 7: Write your birthday greeting.

Step 8: Add Minecraft figurines which can be purchased at many retailers including Target and Wal-Mart. 


It might not look like much, but the kids LOVED it! It really looks cool when you're hoping for a Minecraft cake. Plus, it's pretty unique. Nobody else will have a cake like this! 

This is just a bonus idea. I wasn't planning to do this, but once I had the tablecloth down, I couldn't resist turning it into a Creeper.

Supplies were all purchased at the Dollar Tree:

  • 1 - green table cloth
  • 1 - pack of black napkins
  • 1 - pack of green plates
  • 1 - pack of clear forks & spoons


He was a happy kiddo!

Sunday, March 22, 2015

Organizing Alphabet Stamps

Having recently discovered Project Life®, I have begun dusting off my old, traditional scrapbooking supplies to use once again. This time, I'm energized because instead of completing only a couple pages in a couple hours, I often complete numerous pages in the same time span. 

Today, I decided to organize my alphabet stamps. These are not the cool, clear, cling stamps we've all come to know and love. These are the old, rubber stamps (still available at some hobby stores) that come in little cardboard boxes with no tops. 


First, I invested in two plastic bead organizers (purchased at Michael's for $2.49 each). 


I then labeled each small compartment with a letter from an old alpha-sticker set I've had for 10+ years. 


Next, I unboxed all the little alphabet stamps I own. (Ok, it's only four sets at the moment...but now that I'm organized, I'm inspired to purchase a couple more sets with more font variety.)


The final product allows me to quickly locate, use, and replace any letter of the alphabet. (And bonus! I forgot about the extra characters and symbols, so those will get used, now, too!) 

Check out this "groovy" card I just made using a variety of stamp fonts and my ancient Le Plume II markers for color:


I'm thrilled to report that putting the stamps back in their respective compartments took WAY LESS TIME than trying to fit them back in the little stamp boxes like I used to do. Cheers!


This alphabet stamp organizing project cost less than $6.00, and took less than 15 minutes to complete. Now I can mix & match my alphabet stamps quickly and easily for any project. I'm pretty stoked! :) 

Monday, December 31, 2012

Website Does Not Display Correctly in IE9

If you're having  problems with your CSS website displaying correctly in Internet Explorer version 9,
try this handy-dandy, EASY, 2-step little trick: 

STEP ONE: 
Strip any references to "Helvetica" out of your CSS.

STEP TWO:
Re-upload the file. 

Voila! Your site works in IE9. 


You're welcome.